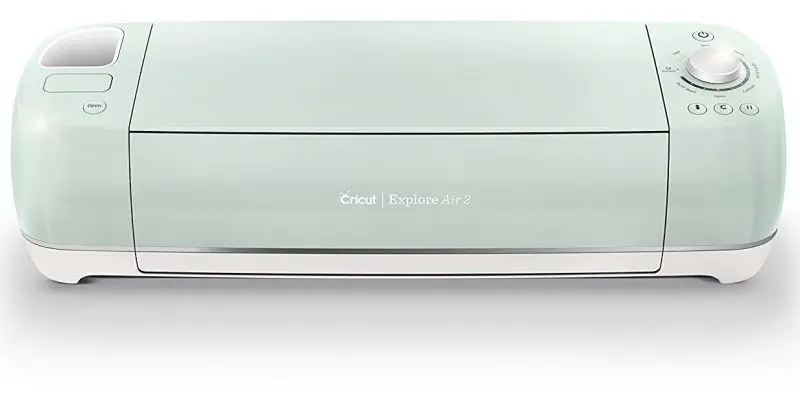
So you just bought a new Cricut Explore Air 2 and are wondering how to use Cricut Explore Air 2? Cricut Explore Air 2 is a great DIY cutting machine that can cut, write, and score a wide variety of materials for you to create projects.

Maybe you are contemplating a purchase and want to know about the features of Cricut and how this Cricut Explore Air 2 differs from the previous machines? We’ll start at the beginning: unboxing this machine (mint green), and we’ll end with how to connect Cricut Explore Air 2 with a PC, Mac, and iPad.
If you’ve an old Cricut Explore Air model, don’t worry. There are some differences between the models and how to use Cricut Explore Air 2.
Follow the Steps To Use Cricut Explore Air 2
To use your Cricut Explore Air 2 machine, follow the steps given below:
First, Let’s Unbox Cricut Explore Air 2
Let’s ensure you are not missing any items. If nothing is included, return your Cricut Explore Air 2 to the store you purchased it from or contact Cricut Support for a quick replacement. If you’ve something extra, well, that’s a nice bonus.

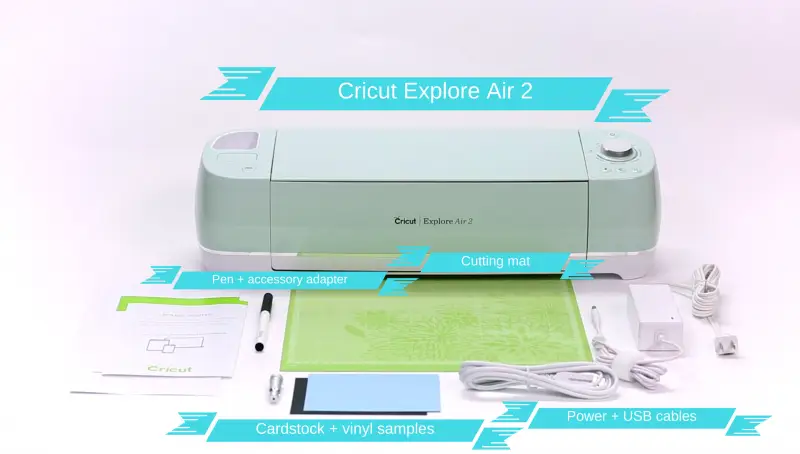
Your package should include at least the following:
- Instruction Manual
- Cricut Cutting Mat
- Cutting Blade (Pre-installed)
- Cricut Explore Air 2 (in case you’re missing it, the box was probably too light)
- Power + USB Cord
- Silver Pen + Accessory Adapter (Pre-installed)
- Cardstock + Vinyl Samples
Note: There are many different kits available (Premium Vinyl, Tools Kit, Ultimate Kit, Complete Starter Kit, Vinyl Starter Kit), so you may have some extra items to include.
What’s the Difference Between Cricut Explore Air and Explore Air 2?
The Cricut Explore Air and Cricut Explore Air 2 machines look alike and have all the same features… What’s the difference? The answer is only color and speed. The Cricut Explore Air 2 has a 2x faster mode machine that works with vinyl, iron-on, and cardstock. It also has 3 pretty colors: Mint Green, Pastel Pink, and Sky Blue. This much only!
Now let’s look inside.
Inside Cricut Explore Air 2
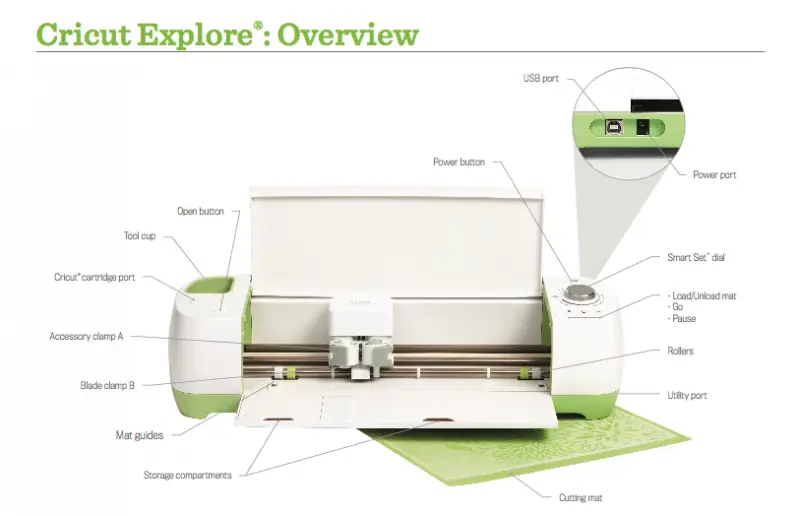
We’ll cover the basic features of Cricut Explore Air 2, some of which are awesome. The overview is of the original Cricut Explore Air, but the layout is identical. Just imagine the beautiful mint finish.

- Tool Cup: Holds pen, scissors, etc.
- Accessory Clamp A: It is where the accessory adapter comes pre-installed and where you can insert the pen for drawing instead of cutting. It is also useful for holding the scoring blade.
- Blade clamp B: The blade comes pre-installed. If you need to change it or remove bits of vinyl, it is what you want to look for.
- Accessory storage compartment: In addition to the tool cup, the Cricut Explore Air 2 has 2 storage compartments. The small compartment on the left holds extra blade housings, blades, and accessory adapters. It has a magnetic strip to hold the replacement blade secure and free from rot. The large compartment is great for storing long tools/pens.
- Smart set dial: Spin the dial to choose the material you will cut. It feels great to bend and shows which materials you can cut with 2x time faster mode.
- Cutting mat: It is sticky on one side to keep the material securely.
A Brief Note on Accessory and Blade Clamps: If you ever need to remove the blade or accessory clamp, simply open the lever and pull out the metal housing. The blade sits on the inside and has a small plunger on top. You can press it down to reveal the magnetically held blade. If you need to change the blade, just take it out and leave the other one in.
To use the pen/marker, simply open accessory clamp A, drop it down, and then close the clamp.
Ok, let’s connect the Cricut machine and install the required drivers.
Steps To Connect Cricut Explore Air 2 With Your Mac/PC/iPad
Even though the Cricut Explore Air 2 machine can be used wirelessly, we’ll start by setting it up with a USB cable. Begin by placing at least 10″ of the available surface behind it as the cutting mat moves back and forth inside the Cricut machine.
First, plug your Cricut machine in a while connecting the power adapter and USB cable.
Next, switch on the Cricut Explore Air 2 as well as your computer.
Afterward, go to the Cricut website, register a user account, and download the latest plugin software.
Then, run the installer and go to design.cricut.com. Lastly, press the menu bar icon in your top left corner and choose New Machine Setup. That’s it.
Visit: cricut.com/setup
Source: https://setupexplore2.com/how-to-use-cricut-explore-air-2-the-ultimate-guide/


No comments:
Post a Comment